Friday, December 23, 2011

I love making hair bows.  These below are by far the easiest and cutest little accessory that any little girl (or big) can use!  Hope you enjoy.  Sorry if confused on directions, I have a husband rushing me!


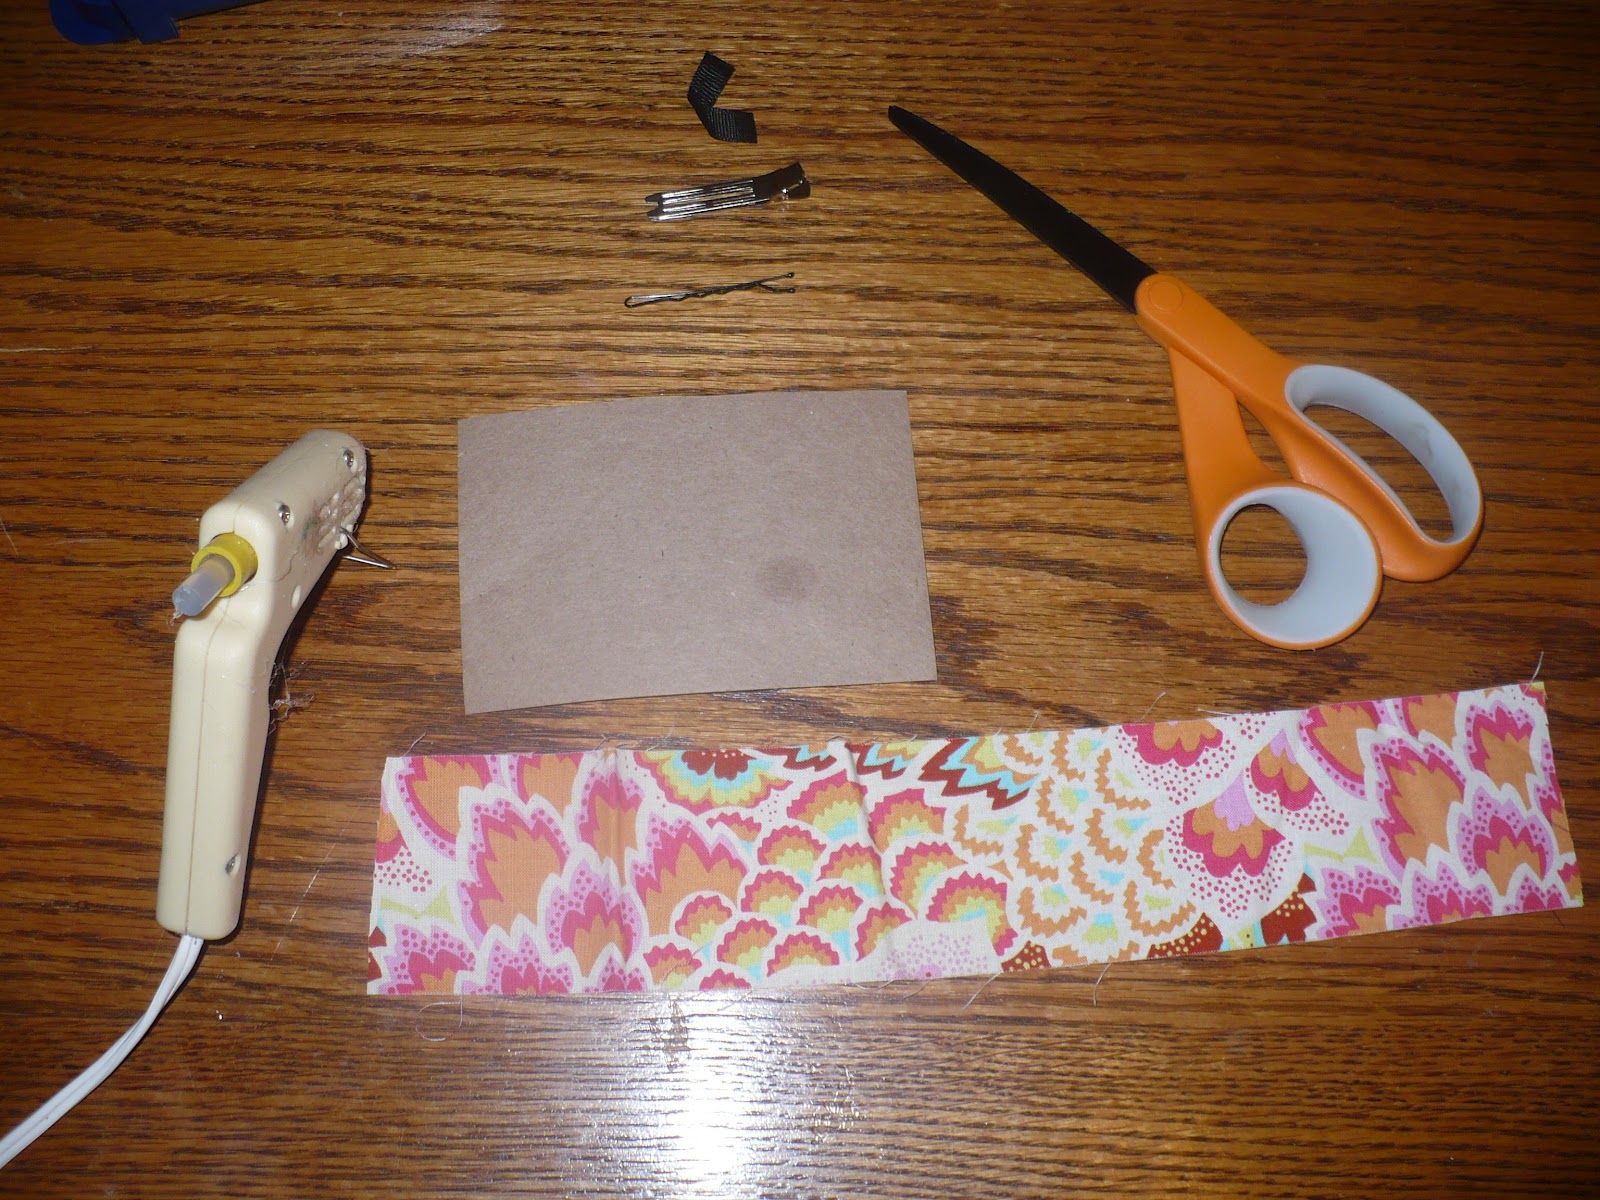
You will need glue gun, hair clip, scissors, fabric, and board to protect table.


Cut out 5 squares, cut into circle, no need to measure.
Then hold fabric and place inbetween finger and thumb and start pulling the fabric until you get a curl effect.


Place a drop of glue on the first circle and then continue scrunching the fabric and adding more glue and more circles.  Once finished glue the hair clip onto the back of the circle.  I use a small piece of ribbon to hold it onto the circle without effecting the clip.


TOO CUTE!

So I haven't had much time to post anything new on here because I'm trying to get all my handmade crafts completed before Christmas.  Father Time is not being very nice.  I can't believe how fast this month has went.  I am on my way to my BFF's Ugly Sweater Party and wanted to post two things I made for tonight!  The first one is a Peanut Butter "Cheese Ball"  I found on Pinterest!  What an amazing looking treat!  Very fun to make as well! 


Peanut Butter "Cheese Ball"
1 package (8 ounces) cream cheese, at room temperature 1 cup powdered sugar
3/4 cup creamy peanut butter (not all-natural)
3 tablespoons packed brown sugar
3/4 cup milk chocolate chips
3/4 cup peanut butter chips
Graham cracker sticks, teddy grahams, and/or apple slices for dipping

Directions:
Beat cream cheese, powdered sugar, peanut butter and brown sugar in large mixer bowl until blended.

Spoon onto a large piece of plastic wrap; bring up all four corners and twist tightly forming into a ball shape.

Freeze for 1 hour 30 minutes or until firm enough to keep its shape. Place peanut butter and chocolate chips in flat dish. Remove plastic wrap from ball and roll ball into morsels to completely cover, pressing morsels into the ball if necessary.

Place ball on serving dish; cover and freeze for 2 hours or until almost firm. (Can be made ahead. If frozen overnight, thaw at room temperature for 20 to 30 minutes before serving.) Serve with graham cracker sticks, teddy grahams, or apple slices for dipping or spreading

So on with my second craft for today, my ugly sweater!  My friend tried to help and found something for me to wear that was cheap and ugly.  Well it didn't fit so I thought of my crafty skills and made a shirt instead! I had some left over green fabric from my head bows so I thought, huh, a christmas tree would be great!  I also added a kids craft penguin after the picture was taken to add to the decorations!  This was so simple and I didn't even measure just started cutting!  No SEWING required!  All done with my favorite tool, my glue gun!!! 


Merry Christmas!!!!
.

Thursday, December 15, 2011

The New Blog~

I love reading and searching new blogs for ideas to make life easier or for craft ideas.  I also have started writing in a journal about my childrens everyday life. So I thought, "why not do it in a blog!".  I use to have a blog before Max and Ruby were born but for the life of me I can't find my password and no longer have the email address so it's time to start a new one!

Kayla, Max, and Ruby are my life and they keep me very busy!  If I didn't have them, or my loving husband, I don't know where I'd be today.  They keep me going everyday and I love them for it!  I sometimes sit and think what it would be like without them and then I thank God for giving me such a wonderful Life!!! 

There will be more to come and I hope you enjoy some of my blogs!  Love Tina!